Gear You’ll Need for the First Days & Beyond
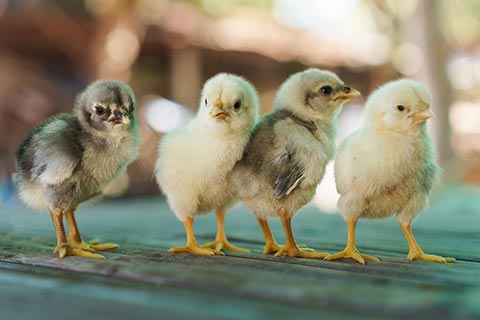 Tending baby chicks this Spring? Be prepared for a flock of chickens in no time. Chicks grow fast — the journey from fertilized egg to chick takes a mere 21 days. One more week, and they’ll have feathers and a mind of their own. Twelve more, and they may be laying eggs themselves. If you’re game for weeks of delight, amusement, and hard work taking care of feisty, adorable feathered friends, now is the time.
Spring weather is perfect for shipping eggs, and chicks can usually be outside in 4 or 5 weeks after procurement. Here in New England, of course, Spring is often a state of mind and not a reality, so consult your calendar. Target the last frost date for your region and count back 4-5 weeks, so temps will hover around 55 degrees or better when it’s time to move outside.
Ready for a spirited, fluffy army to share your home, garage or mud room? From incubation (if you choose eggs over chicks) to preparing the coop, here’s the 101 of welcoming baby chicks into your home this season.
Incubation
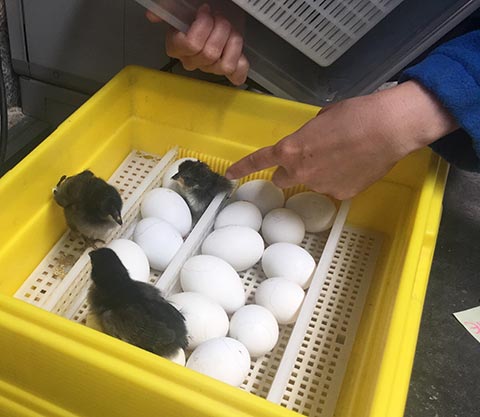 If you are expecting an egg shipment this Spring, you’ll need an incubator. There are many makes and models of incubators available (Backyardchicken.com has reviews if you’re in the market. Or you can choose to make one yourself. You’ll find many ideas from your community such as these from BackyardChicken.com.
Here’s advice from Backyardchickens.com about incubating:
“Before putting your eggs into an incubator, plug it in and make sure the temperature is steady. In a forced air incubator (with a fan) the temperature should be 99.5–100*F. In a still air incubator the temperature should be slightly higher, 101–102*F measured at the top of the eggs. I use a thermometer and a hygrometer (which measures humidity) in my incubator. Hygrometers can be purchased quite cheaply at a cigar shop, Radio Shack and I believe even Walmart. You want 28–50% humidity for day 1–18, depending on air cell size, then 65% to 75% for the last few days.
“During the first 18 days of incubation, the eggs should be turned a minimum of 3 times a day. Use a non-toxic marker and mark eggs with an X on one side and an O on the other so when you are turning them you can make sure they all got turned.”
Find this and other information about incubation.
Careful! Placing chicks outside after a week or two is fine for short periods if the temperature is high enough. Be very watchful, however. Chicks are active, curious, and can fit into and out of small spaces making them vulnerable to harm by pets or predators.
The Brooder
Once your eggs have turned to living, moving chicks, or if you’ve purchased chicks from your local farm supply store, it’s time for a brooder. To set up shop for the new additions, it’s best to choose a basement, garage, mudroom, or a shed with adequate heat and protection. Brooding in living areas is messy thanks to the dust chicks create. Space guidelines are at least 2 ½ feet per chick. Err on the side of space: they won’t be tiny long, and overcrowding can multiply potential problems. Beyond the optional webcam, here are the basic supplies:
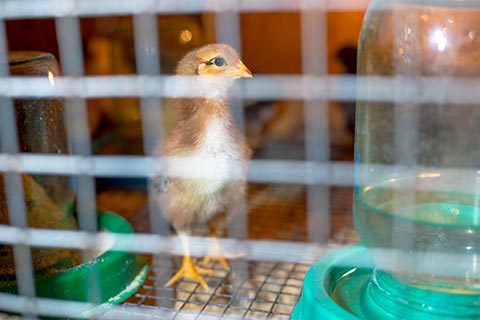 Water. Have fresh, clean water available in a water fount or bowl, and place it as far from the heat lamp as possible. If water is in a bowl, fill it with pebbles or marbles to prevent drowning – chicks are notorious for falling and they can easily drown in a small bowl.
Food. Use a starter feed, called “crumbles” or “chick starter” to provide the right nutrients for growing birds. (Foraging naturally just isn’t practical for the way birds are bred today.) Keep food in one place to minimize scratching and spreading, and be vigilant with cleaning to keep food free from waste.
Medicated feed is an option for preventing Coccidiosis. Find more information about Coccidiosis from BackyardChickens.com.
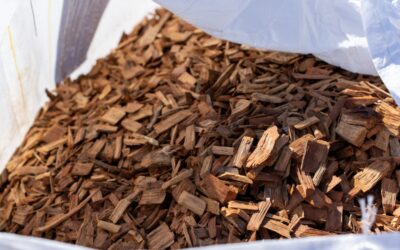
 Bedding. You’ll need to line your digs with bedding and keep it clean to prevent disease. Use small space-friendly bedding, which is perfect for chicks, especially if you are an urban farmer. Choose bedding that keeps smell under control and helps facilitate efficient dumping.
Shipping eggs? Shipped eggs should be allowed to rest for 24 hours prior to setting, to allow the contents of the eggs to settle. Place shipped eggs upright, with the fat end of the egg up, in an egg carton, or something similar.
Heat: Doing the Hen’s Job
When chicks have a hen, you can trust you have an expert at the helm. They’ll do the job of managing heat to achieve the perfect incubation. If you have purchased your chicks, you’ve been given hen duty. Optimum heat and humidity are critical to providing the right environment. Heat lamps offer the consistent temperature needed. Purchase from a farm store: it will have a red bulb with no dangerous coatings that allows chicks to sleep and minimize stress, and made to stay on 24 hours a day.
Heat for your baby chicks should follow this progression:
1st week of life: 95 degrees;
2nd week: 90 degrees;
3rd: 85 degrees…continue this sequence until chicks are fully feathered.
The Coop
Eventually, it will be time to move your brood to the coop. The Farmer’s Almanac recommends a coop large enough to stand and clean comfortably— keep in mind you’ll be collecting eggs daily and shoveling poop a lot. You can make a backyard coop yourself: here’s how.
If it’s your first go-round with baby chicks, great! Work with a mentor or local organization for practical advice for keeping them healthy as they grow. Most importantly, enjoy your baby chicks while you can. They’ll be leaving the metaphorical nest before you know it.
Got chicks? Send us pics! Post on our Facebook page and we’ll share your chick photos as they progress.